The Autodesk Inventor Technical Reference contains detailed information about the kBridge - Inventor integration. Of course, Autodesk provides full reference materials for Inventor itself.
This Unit follows is a step-by-step procedure focusing on an example of this integration.
This Unit will walk you through the steps required to integrate 3D models built in kBridge into Autodesk Inventor. In this unit, you will set up the Inventor Drawing Documents and work your way through many Inventor-related drawing and CAD operations.
You will use a copy of the Table project in this Self-Guided Training. If you have not produced your own Table project, then go earlier topics in this Self-guided Training and perform the steps in Units 1-12.
User Option
Option 1: Refer to Setup in Inventor - Technical Reference and follow the steps there to set up your Inventor support files. Then continue to Preliminary Operations.
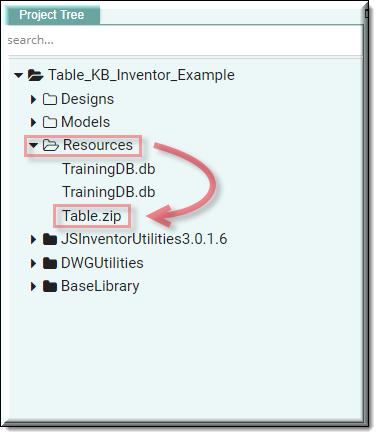
Option 2: If you have difficulty creating the support files in Inventor in the Setup in Inventor topic in this Unit, or want to save time, you can download Table.zip. The Table.zip file can be found in the ‘Table_KB_Inventor_Example’ project in Resources, The Resources folder is in the Project Tree.
Unzip the file and add to the appropriate folders (C:\Table).
NOTE: If you download the Table file from the Resource folder it may show up on your computer as ‘Table_Zip.txt’, if so, change the name to ‘Table.zip’.
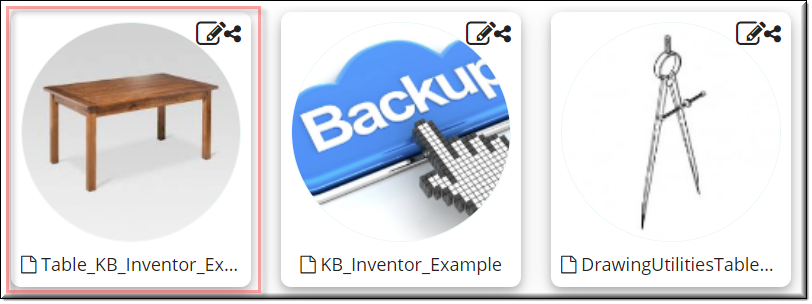
There is an example Table project in the Project Browser, 'Table_KB_Inventor_Example’. This Table project can be used as an example as you are adding Inventor Integration to your Table project. If you are using Inventor 2016 use the example in the Project Browser named 'Table_KB_Inventor2016_Example'. There are some differences in the constraint values.

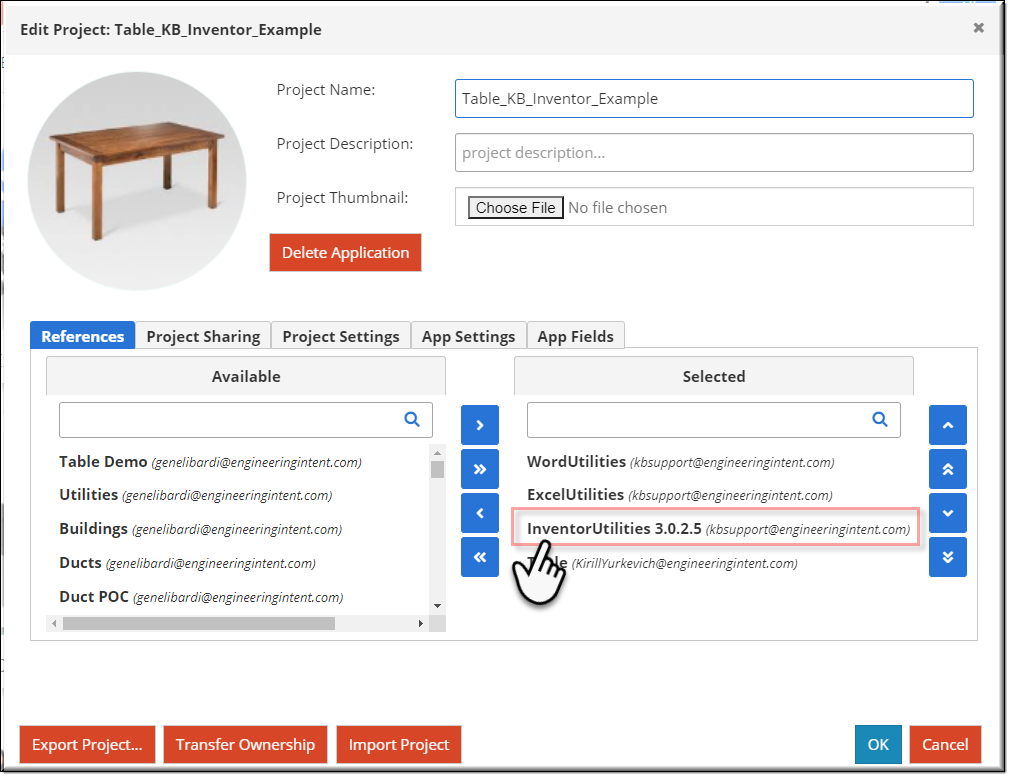
Edit your project by clicking on the upper left corner of you project icon, and add 'InventorUtilities 3.0.2.5' (or the newest version) to the Selected window and ‘OK’.
