As indicated in "Add DWG Output to a kBridge Project" above, the first step in adding DWG output to your Project is to Mixin the DwgDrawingMixin Design at the root node of your drawing. This Mixin has the Rules to look down the tree into the Children and gather data for the DWG file.
Add Mixins
1) Click on the Edit symbol and add DWGUtilities.

2)Add DWGDrawingMixin to the Table.

3)Block is the primary Mixin for the TableTop and Leg Designs. Therefore, we need to add the DWGBoxMixin to the LegGroup and the TableTopGroup. Click Apply.
The DWGBoxMixin has a Rule called DWGDataNode that collects the data from its object.

4)The DWGModelData Rule in the root will look down to the children. If the Child has the DWGBoxMixin, it will collect its data from the DWGDataNode Rule.
Steps to View DWG Output
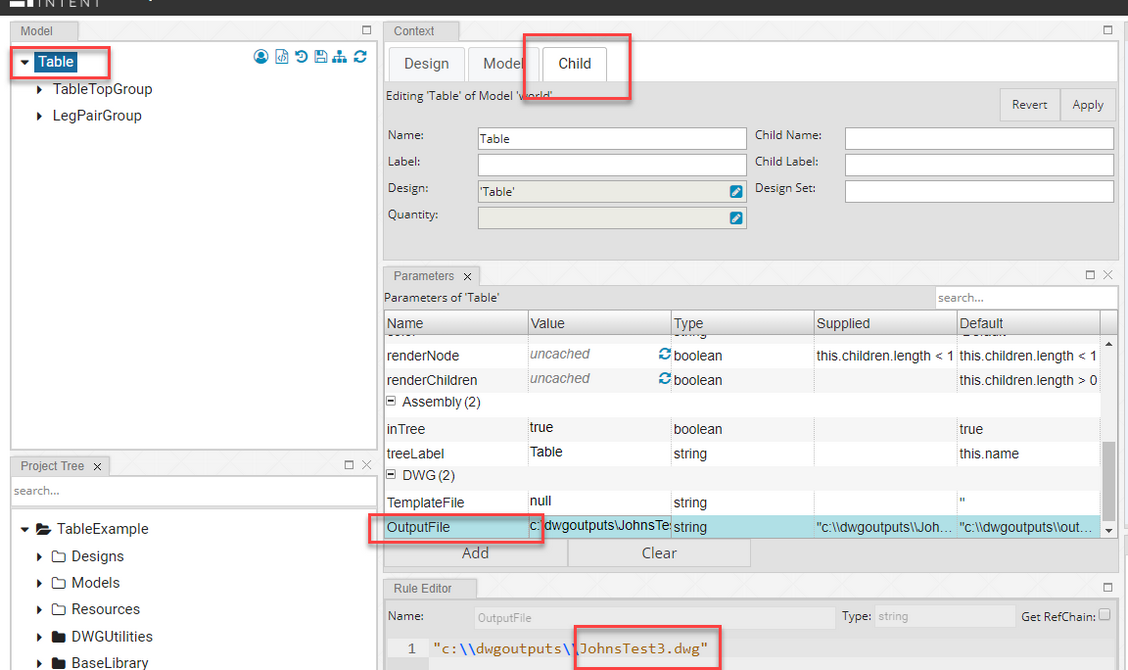
1)In Table Child Tab >OutputFile Rule, change the name to a unique name. Click Apply

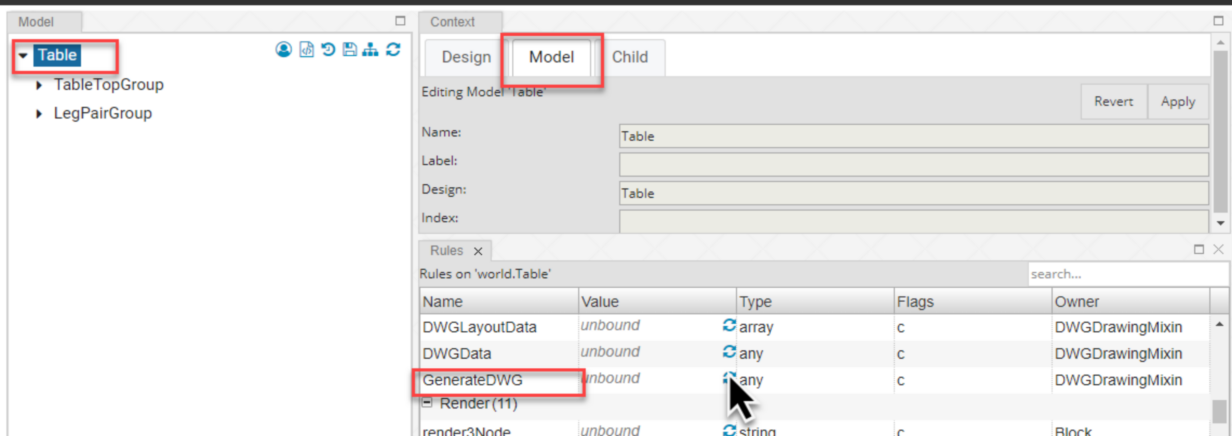
2)To generate the DWG, go into the Table Model Tab > GenerateDWG Rule and click on the Reload symbol… The Value will show ‘true’ when output file is complete.

3)The DWG file with your unique name is now on the server. Here is a link to the current server page allocated for DWG output: http://eiprod1.centralus.cloudapp.azure.com/DWGOutput/
4)Click on the link with your unique name to download it to your computer.
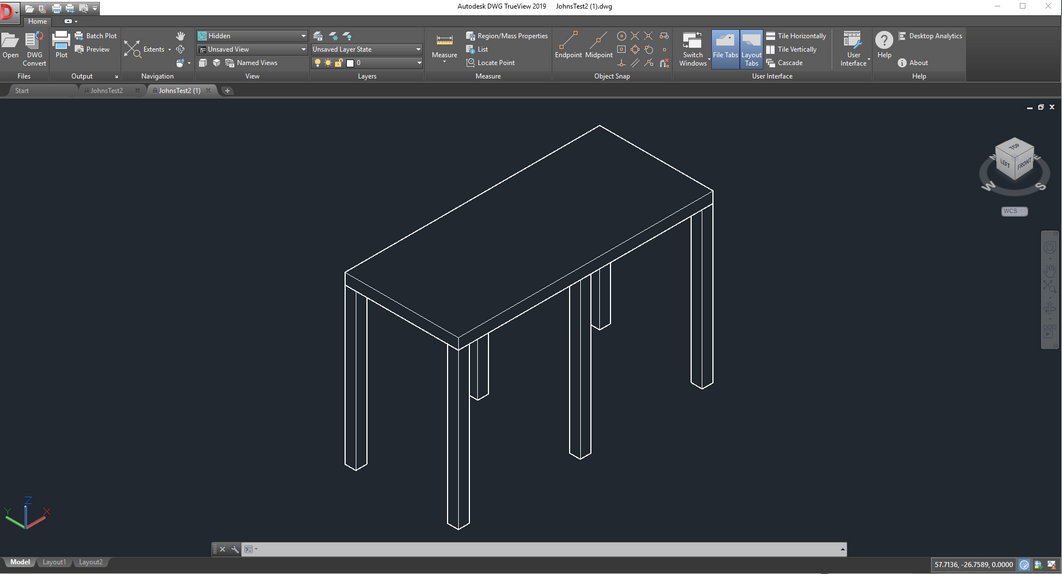
Your Table is now viewable.

NOTE: Because the AutoCad version on the server may be different from the AutoCad Version on your computer, it may be easier to view the DWG with AutoDesk DWG TrueView. The download is free and will open any DWG version.