This training exercise consists of 5 steps. You need to
1.Set up your Table Project for Word integration (below)
2.Set up your Table quote template
3.Set up the WordDocument Design
4.Set up the DocumentData Design
5.Produce a Word document from your Table data
The kBridge Word integration automatically generates a configured Word document. Developers often use it for quotes, proposals, and reports as output. The integration uses a Word template that contains markers prefixed and suffixed by 3 plus signs (Example: "+++ INS customer +++"). kBridge opens the Word document and pushes data into the marker locations.
kBridge can push the following into Word:
•Text
•Paragraphs
•Tables
•Images
Set up your Table Project for Word Integration
Copy your Table Project or open the Working Example
You can use a copy of the Table project in this Self-Guided Training. If you have not produced your own Table project, then go to the Knowledge Bridge Documentation (https://docs.knowledgebridge.engineer/index.html?self-guided-training.html) and go through the Self-guided Training. This will take you through the steps to produce a Table project.
Alternatively, you can open a working example, found in your Project Browser under kBridge Examples.

Then open ‘Table_KB_Inventor_Example’
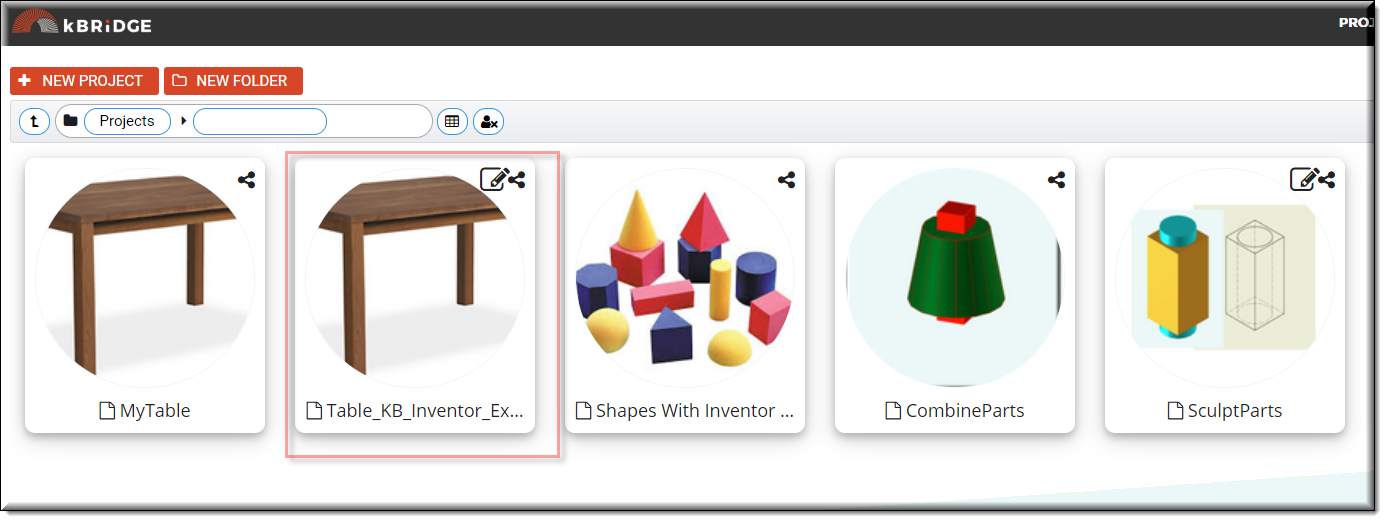
You can refer to this project to see how Word integration rules work together in the production of a Word document.
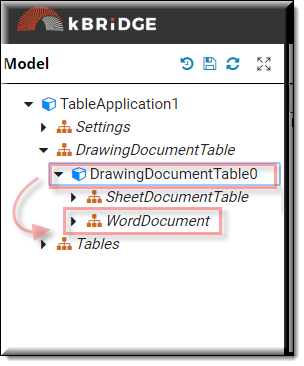
In ‘Table_KB_Inventor_Example’ the WordDocument is a child of DrawingDocumentTable0. In your Table project you will be inserting the WordDocument under a different design, Table or MyTable.
Setting up your table project
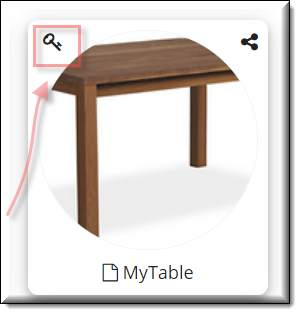
Click on the Key (Edit) icon in the upper left of your project icon.
Select WordUtilities from the Available area and use the blue arrow to bring it into the Selected area.
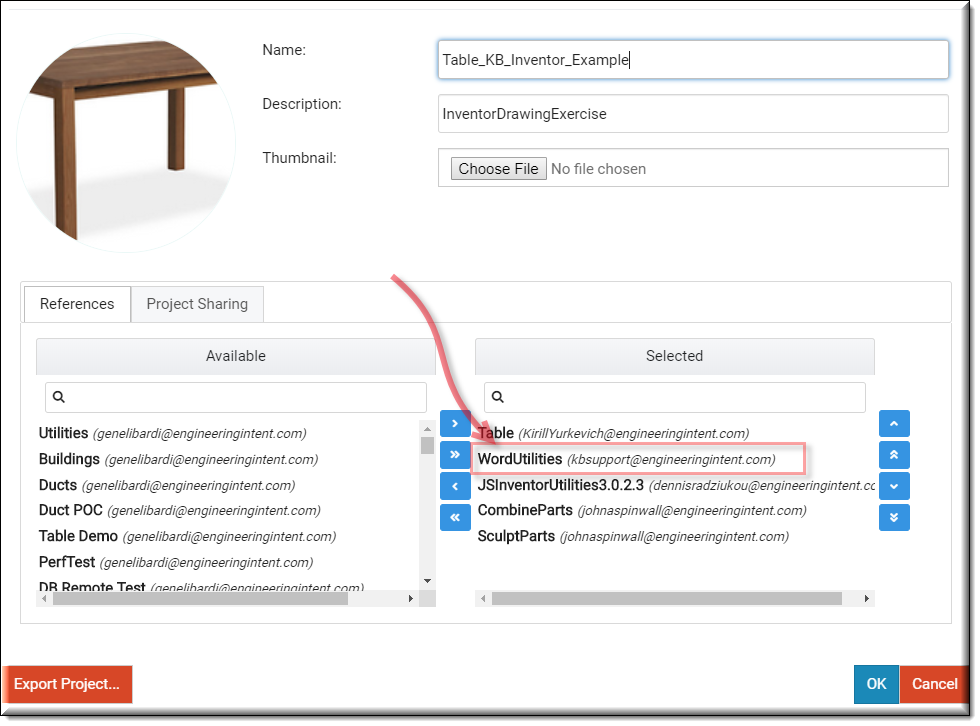
Click OK
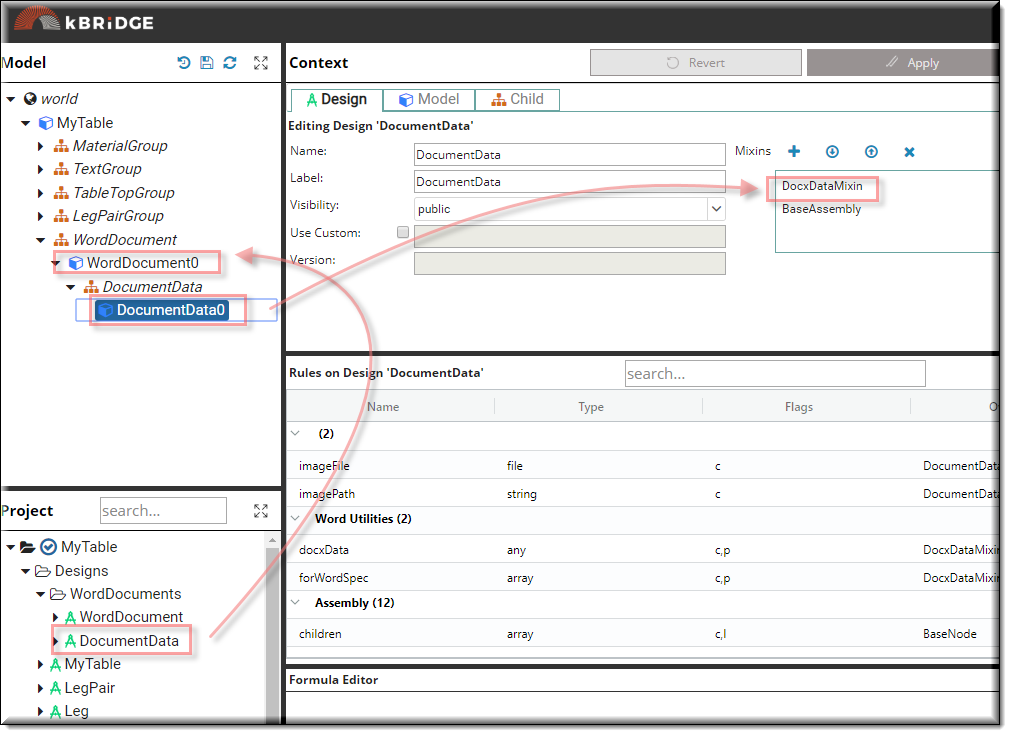
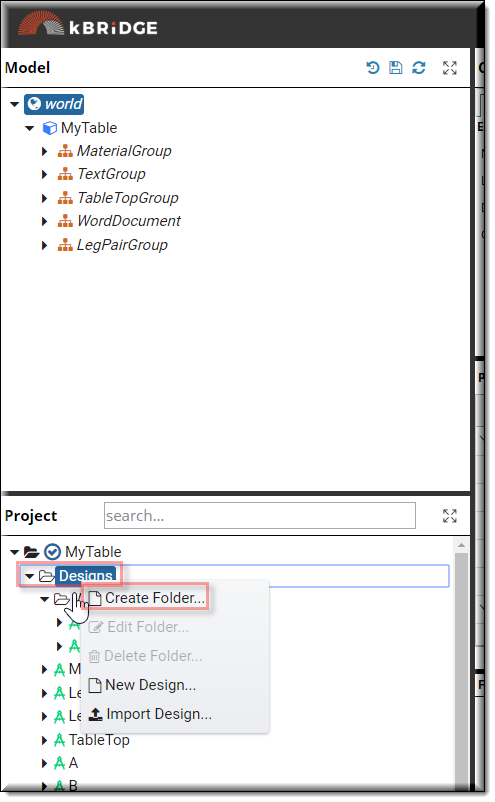
Open your table project. In the project window, right click the Designs folder and select the Create Folder. Name the folder ‘WordDocuments’.
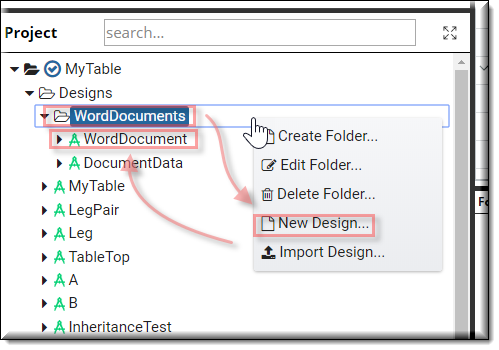
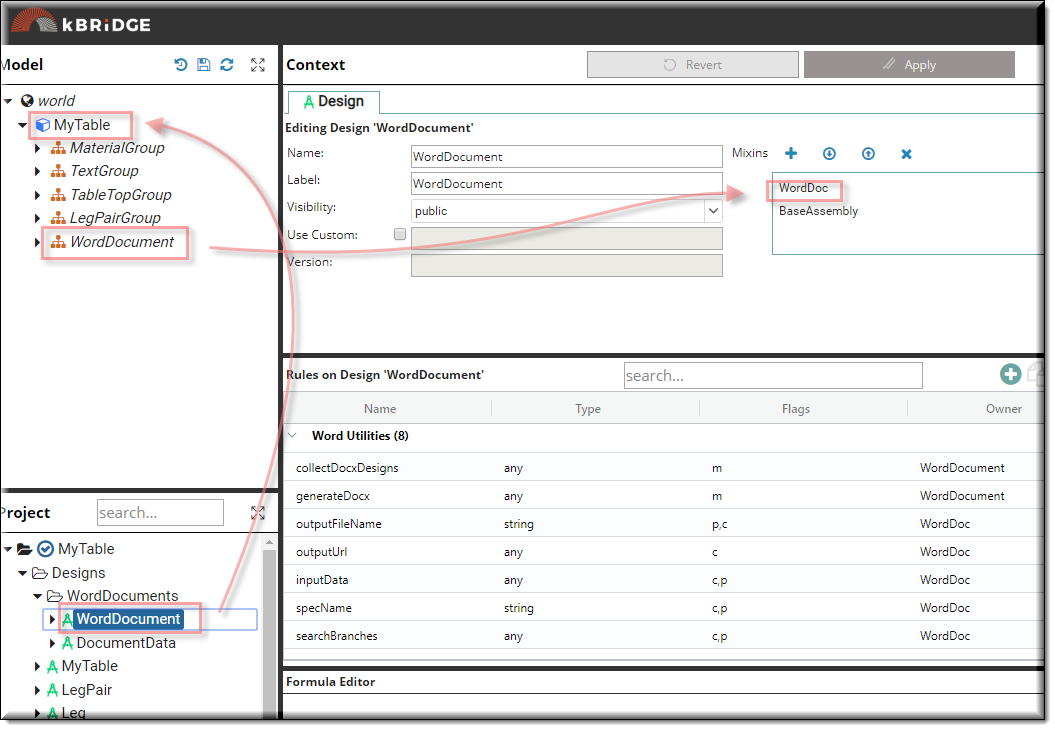
Right Click WordDocuments and select ‘New Design’. Name it ‘WordDocument’ and add WordDoc as its mixin.
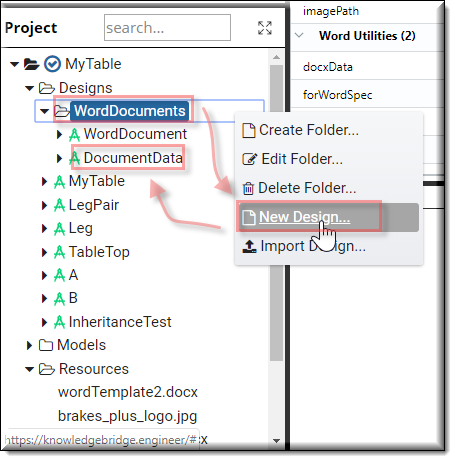
Now Right Click WordDocuments and select ‘New Design’. Name it ‘DocumentData’ and add DocxDataMixin as its mixin.
Drag WordDocument into MyTable (note that your assembly may be called Table)
Now drag DocumentData into WordDocument0.
