1. Change graphics style (viewing mode)
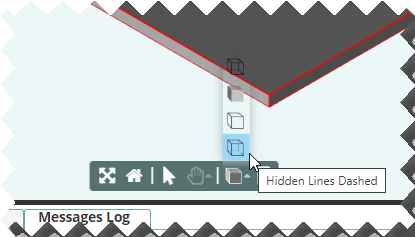
Before adding these Child Groups, change the Graphics Style in the Graphics Window to Wireframe by clicking on the small up-arrow to the right of the graphic style icon and select Wireframe with dash hiddlen lines. thisThis enables you to see your new Child groups more clearly as they are added to the Model.

The Wireframe icon is a toggle. It turns wireframe view on and off.
2. Add LegPair Child Group
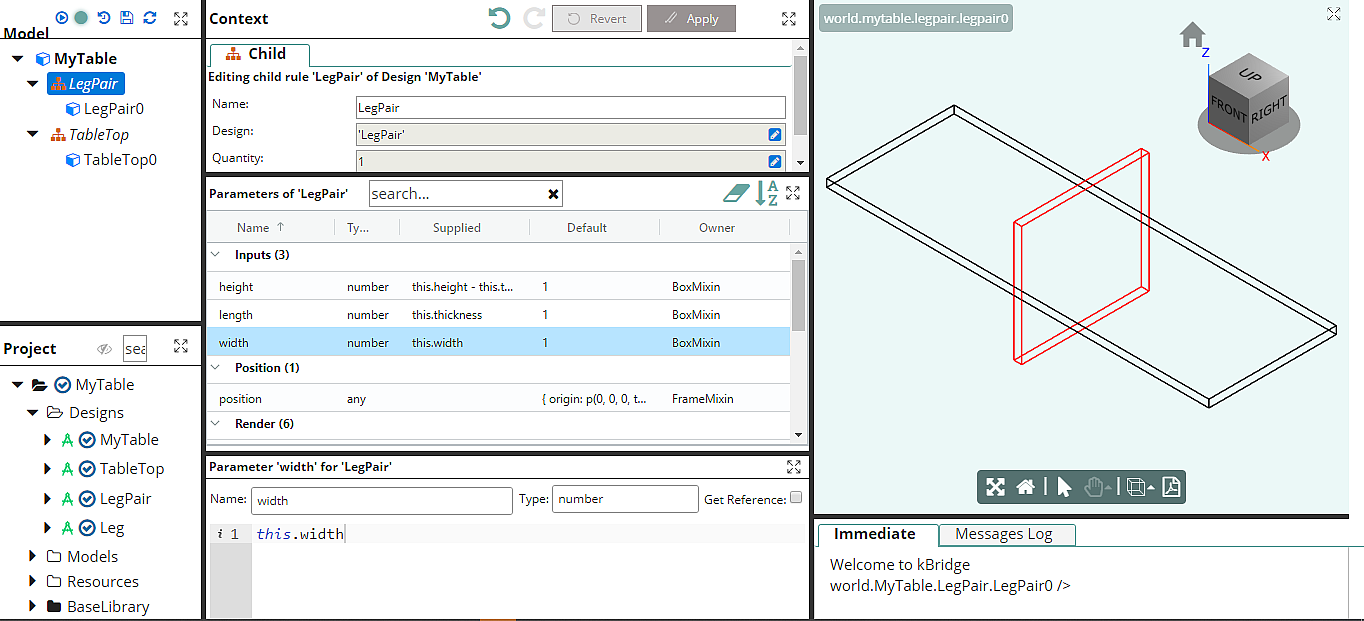
Drag the LegPair Design from the Project editor and drop it on the the Table Model node in the Model Tree. This creates a LegPair Child group.
3. Change Parameters
height: this.height - this.thickness
length: this.thickness
width: this.width
Note that the height of the LegPair is automatically set to the total height of the Table minus the height of the TableTop.

4. Restore solid view
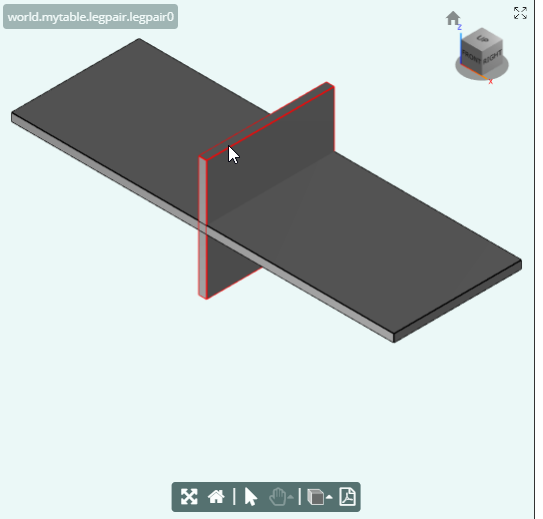
Change the view in the Graphics Window back to a "Shaded with Edges" representation.

(NOTE in the upper left corner, the gray box containing "world.mytable.legpair.legpair0." When this screen shot
was taken, the legpair group had been selected by clicking on it, giving it a red outline. When the cursor is on
the selected entity, this information gray box tells you where that entity exists on the model tree. At the same
time, that entity in the Model tree is highlighted.)
The state of your model
You now have a single LegPair Child Instance that is centered and overlapping the TableTop. No Positioning Parameters have been specified.
You will learn how to position this object in Unit 6. In the next unit, Parameters, you will also learn how to adjust the Quantity of legs to a value that is based on the Table"s length rather than a ‘hard-coded’ or default number.