Description
The UIListBox design can be used to display a list in the user interface. You can also edit the list from within the user interface.
Parameter Rules
| bindParent: | This is the refChain to the design where your target resides. |
| Example: | R.rootModel |
| bindTarget: | The target is the name of the rule you want as the target. |
| Example: | "ListBoxData" |
| required: | Sets whether input is required or not. |
| Example: | true |
| sequenceNo: | Sorting order. |
| Example: | 0 |
| title: | This sets the title if desired. Leave blank if a title is not needed. |
| Example: | "Change Background Color?" |
| tooltip: | The text put here will show up when the user moves or hovers the mouse pointer over a trigger area. |
| Example: | "Click on the '+' green button then add text into the TextBox." + |
| "Click on the check mark button to accept which adds it to the list." |
Mixins
UITitleMixin
UIInputMixin
UIControlMixin
UIStyleMixin
BaseNode
BaseModel
RULE NAME |
TYPE |
DEFAULTS |
CATEGORY |
FLAGS |
|---|---|---|---|---|
bindParent |
any |
undefined |
UI |
Cached |
bindTarget |
string |
"" |
UI |
Cached |
required |
boolean |
true |
UI |
Cached |
sequenceNo |
number |
0 |
UI |
Cached |
title |
string |
"" |
UI |
Cached |
tooltip |
string |
"" |
UI |
Cached |
![]()
Project Example:
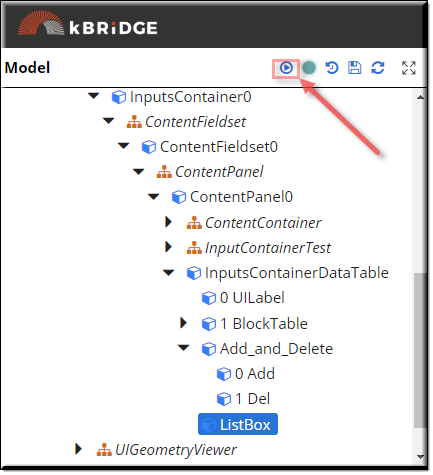
In your kBridge Examples Projects folder open the project called ‘MyTable’.
Reference Location:
"world.mytable.tableui.tableui0.inputscontainer.inputscontainer0.contentfieldset.contentfieldset0.contentpanel.contentpanel0.inputscontainerdatatable.listbox"
Link: https://knowledgebridge.engineer/projects
Open the MyTable project.
Press the UI start icon to start the User Interface.


Click on the 'Data' radio button.
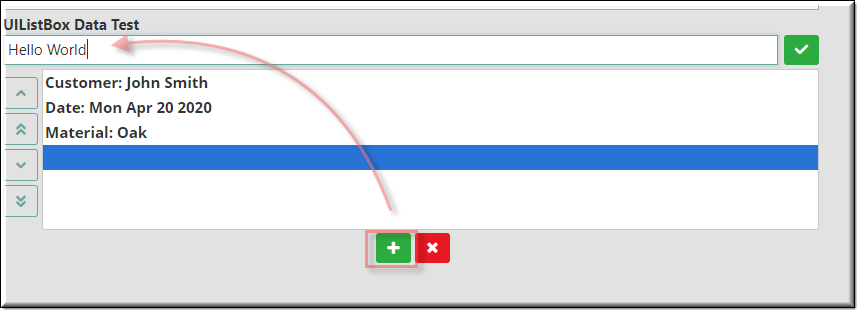
Select the green '+' button and add your text into the textBox.

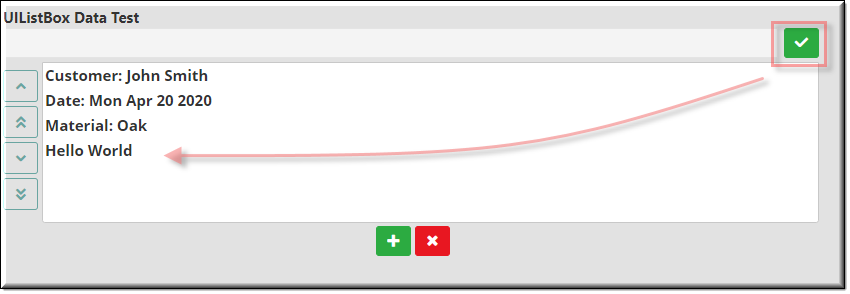
Now when you select the green check button the text will be added into the list.

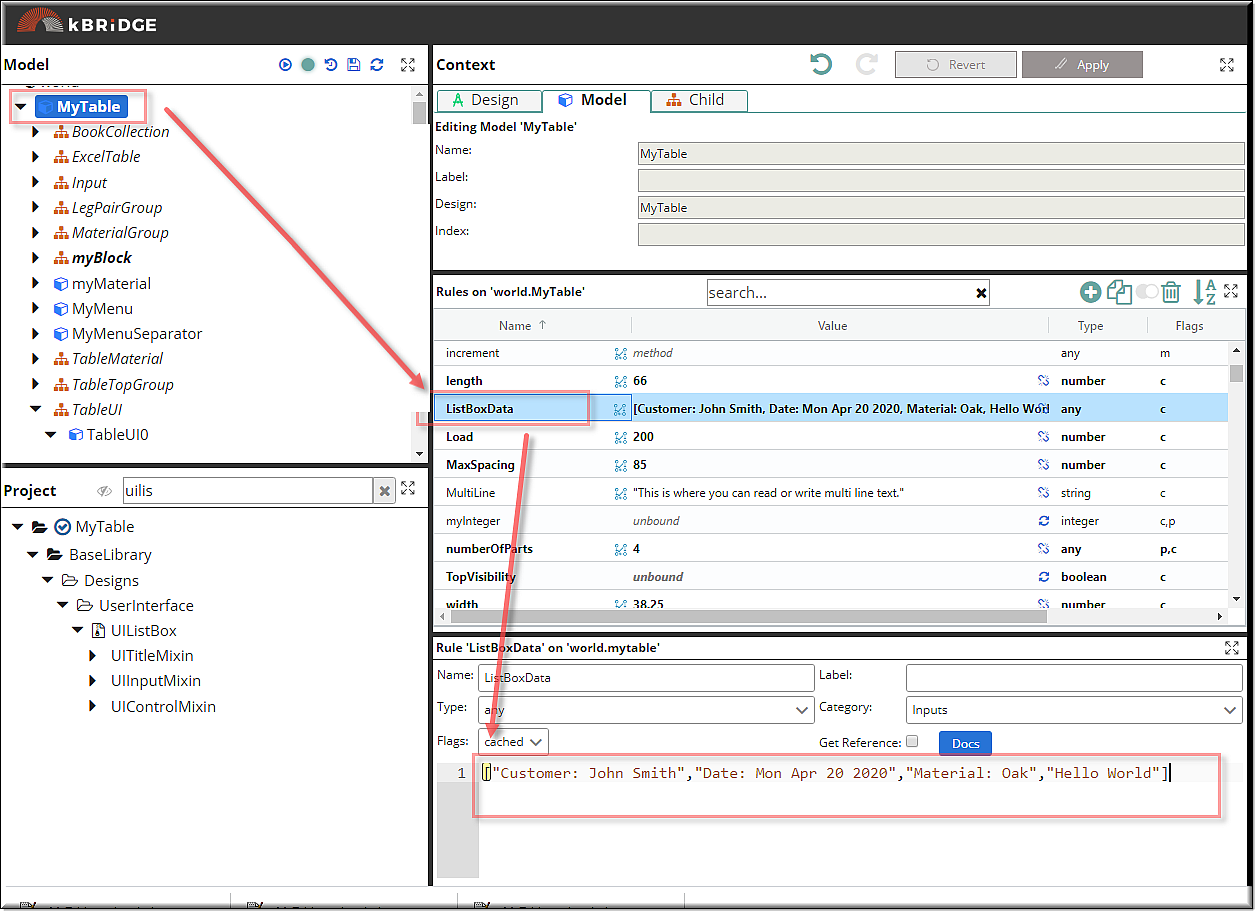
When you update kBridge the new value will be added to the list in the ListBoxData rule that resides within the root (MyTable).
You can also edit the data in the ListBoxData rule and the values will show up in the UI.
